
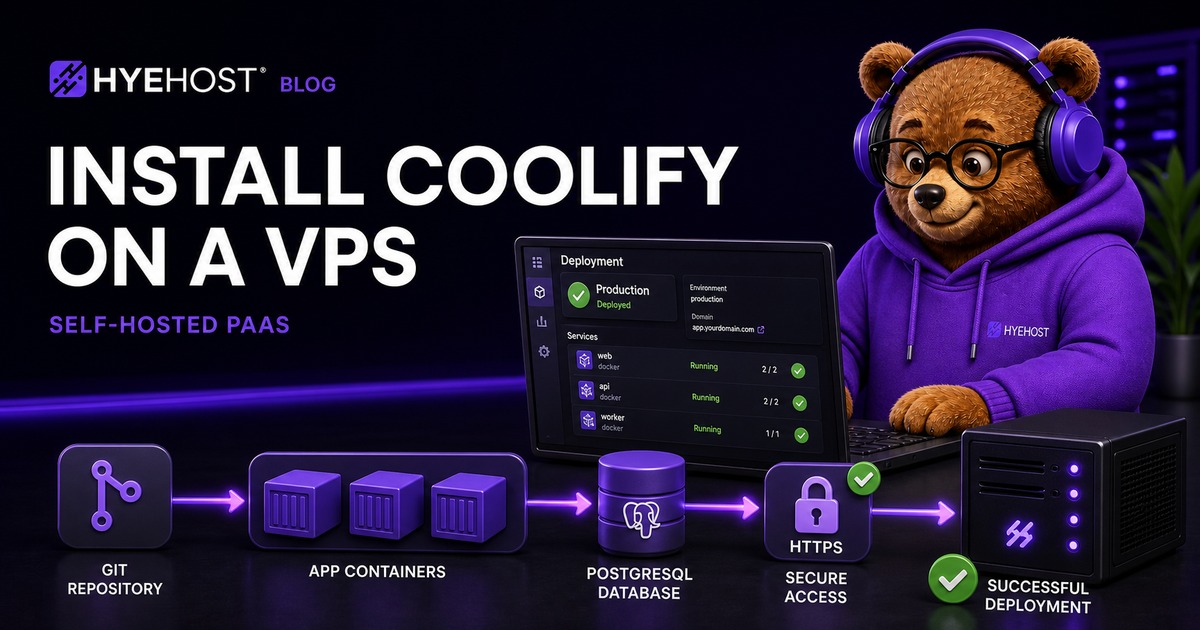
Coolify gives you a deployment experience similar to platforms such as Vercel, Heroku, Netlify and Railway, but runs on infrastructure you control. Connect a Git repository, define environment variables, attach a domain and Coolify handles the container build, reverse proxy and HTTPS configuration.
That makes it useful for developers who want a convenient application platform without placing every project on a separate managed service. A single VPS can host websites, APIs, workers, databases and internal tools behind one control panel.
This guide explains how to install Coolify on a fresh Ubuntu VPS, secure the initial setup, connect a domain, deploy an application and prepare the platform for production. It also covers the operational details that quick installation guides often miss: firewall behavior, backups, monitoring, updates and capacity planning.
What Is Coolify?
Coolify is an open-source, self-hosted platform as a service. It manages applications and databases on servers reached through SSH and deploys workloads as Docker containers.
Common uses include:
- Deploying Node.js, Python, PHP, Go and other web applications from Git.
- Running Dockerfiles or Docker Compose projects.
- Hosting static sites and frontend frameworks.
- Creating PostgreSQL, MySQL, MariaDB, MongoDB and Redis services.
- Assigning custom domains with automatic TLS certificates.
- Creating preview deployments for development branches.
- Running one-click self-hosted applications.
- Sending deployment notifications to services such as Discord or email.
Coolify reduces deployment work, but it does not remove server administration. When you self-host it, you remain responsible for operating system updates, application security, backups, resource use and recovery.
Coolify VPS Requirements
The current Coolify installation documentation lists these minimum resources:
| Resource | Official minimum | Practical starting point |
|---|---|---|
| CPU | 2 cores | 4 vCPU |
| Memory | 2 GB RAM | 4 GB RAM |
| Storage | 30 GB free | 60 GB or more |
| Architecture | AMD64 or ARM64 | AMD64 |
| Access | Root or sudo with SSH | SSH key access |
Two cores and 2 GB RAM can run Coolify and a small application, but builds can temporarily consume much more CPU and memory than the finished app. Four vCPU and 4 GB RAM is a better starting point when the same server will build images, run databases and host several services.
Choose more memory when you plan to run:
- Multiple application builds at the same time.
- Java applications or large JavaScript builds.
- PostgreSQL, MySQL or MongoDB alongside the apps.
- Monitoring, analytics or automation tools.
- Several production services on one host.
Storage use also grows through Docker images, build cache, logs, database volumes and backups. A server that begins with 10 GB of application data may need considerably more working space during builds and updates.
Which Operating System Should You Use?
For the simplest installation, use a fresh Ubuntu 24.04 LTS server. Coolify supports several Linux families, but its automatic installer specifically supports Ubuntu LTS releases and a clean server reduces conflicts with existing proxies, Docker packages and firewall rules.
Ubuntu 26.04 LTS is newer, but Coolify's current quick-install documentation explicitly lists Ubuntu 20.04, 22.04 and 24.04. Until its support matrix is updated, Ubuntu 24.04 is the conservative production choice.
Avoid installing Coolify over a server already running:
- A web hosting control panel.
- Another Docker management platform.
- Nginx, Apache, Caddy or Traefik bound to ports 80 and 443.
- Important containers with undocumented networks or volumes.
A dedicated VPS gives Coolify predictable control over Docker, networking and the reverse proxy.
Before Installing Coolify
You need:
- A fresh VPS with a public IPv4 address.
- Root access or a user with unrestricted
sudo. - An SSH key.
- A domain or subdomain you control.
- DNS access for creating
Arecords.
This guide uses:
Server IP:       203.0.113.10
Coolify domain:  coolify.example.com
App domain:      app.example.com
Replace these example values with your real addresses.
Create the DNS records
Add these records with your DNS provider:
Type  Name     Value
A     coolify  203.0.113.10
A     app      203.0.113.10
You can also add a wildcard record if you expect to create many applications:
Type  Name  Value
A     *     203.0.113.10
A wildcard record allows names such as api.example.com, status.example.com and automatically generated preview subdomains to reach the same VPS. Only use it when that routing behavior is intentional.
Check propagation:
dig +short coolify.example.com
dig +short app.example.com
Both should return the public IP of the VPS.
Step 1: Connect and Update the VPS
Connect with SSH:
ssh root@203.0.113.10
Update the operating system:
apt update
apt full-upgrade -y
Install basic tools:
apt install -y ca-certificates curl git jq
Check whether the server needs a reboot:
test -f /var/run/reboot-required && cat /var/run/reboot-required
If required, reboot and reconnect:
reboot
Step 2: Check Ports and Existing Services
Coolify needs to use the standard web ports:
80/tcpfor HTTP and certificate validation.443/tcpfor HTTPS.22/tcp, or your custom SSH port, for management.
During initial self-hosted setup, Coolify also uses:
8000/tcpfor initial dashboard access.6001/tcpfor real-time communication.6002/tcpfor terminal communication.
Check whether another service is already listening:
ss -lntp
Nothing else should be bound to ports 80, 443, 6001, 6002 or 8000.
A warning about Docker and UFW
Docker creates its own packet-filtering and NAT rules. Published container ports may not behave as expected with UFW alone. Coolify's firewall documentation recommends accounting for Docker's firewall behavior rather than assuming a local UFW deny rule hides every published port.
The safest pattern is:
- Restrict inbound traffic with your hosting provider's network firewall where available.
- Allow SSH only from trusted addresses when practical.
- Allow public traffic to ports 80 and 443.
- Use ports 8000, 6001 and 6002 only for initial access.
- Move the dashboard to its HTTPS domain, then close direct public access to the setup ports.
Do not change SSH or firewall rules without keeping a console session available. A mistake can lock you out of the server.
Step 3: Install Coolify
Coolify provides an official installation script:
curl -fsSL https://cdn.coollabs.io/coolify/install.sh | bash
If you are connected as a non-root user:
curl -fsSL https://cdn.coollabs.io/coolify/install.sh | sudo bash
Piping a remote script into a root shell is convenient but powerful. For a security-sensitive environment, inspect the script before execution:
curl -fsSL https://cdn.coollabs.io/coolify/install.sh -o /root/coolify-install.sh
less /root/coolify-install.sh
bash /root/coolify-install.sh
The installer prepares the required packages, Docker Engine, directories under /data/coolify, SSH management keys and the Coolify containers.
When it finishes, it displays an address similar to:
http://203.0.113.10:8000
Check the containers:
docker ps
You should see the Coolify application and its supporting services running.
Step 4: Create the First Administrator Immediately
Open the installation URL in a browser:
http://203.0.113.10:8000
Create the first administrator account immediately. On a fresh installation, the initial registration page creates the privileged account. Leaving it exposed allows someone else who finds the page to register first and take control.
Use:
- A unique email address.
- A strong, randomly generated password.
- Multi-factor authentication if available in your installed release.
- A password manager rather than a reused password.
After registration, confirm that the local server is connected and healthy in the Coolify dashboard.
Step 5: Put the Coolify Dashboard Behind HTTPS
In Coolify settings, configure the instance domain:
https://coolify.example.com
Coolify accepts domains as complete URLs, including the https:// scheme. Once DNS points at the server and ports 80 and 443 are reachable, the integrated proxy can request and renew the TLS certificate.
Test the domain:
curl -I https://coolify.example.com
After HTTPS works, stop using the raw port 8000 address for normal administration. Restrict direct access to setup and terminal ports at the external firewall where your design permits it.
Step 6: Deploy an Application from Git
The exact labels may change between Coolify releases, but the workflow is consistent:
- Create a new project.
- Create a production environment.
- Add an application resource.
- Choose a public or private Git repository.
- Select the branch to deploy.
- Let Coolify detect the build method or provide a Dockerfile.
- Set the application's listening port.
- Add required environment variables.
- Assign the application domain.
- Deploy.
Example Node.js application
A simple Node.js project should define its start command in package.json:
{
  "scripts": {
    "start": "node server.js"
  }
}
The application must listen on all container interfaces rather than only localhost:
app.listen(process.env.PORT || 3000, '0.0.0.0');
In Coolify, set the application port to 3000 and assign:
https://app.example.com
The platform builds the project, starts its container and configures the reverse proxy. Coolify's domain documentation states that applications using an https:// domain receive automatic HTTPS configuration.
Add environment variables safely
Store configuration in the application's environment settings:
NODE_ENV=production
DATABASE_URL=postgresql://...
APP_SECRET=...
Do not commit .env files, API tokens, database passwords or private keys to Git. Treat anyone with access to Coolify's application settings as someone who may be able to view production secrets.
Step 7: Add a Database
Coolify can create common databases as project resources, including PostgreSQL, MySQL, MariaDB, MongoDB and Redis.
For a PostgreSQL-backed application:
- Add a PostgreSQL resource to the same project.
- Generate strong database credentials.
- Keep the database private unless external access is genuinely required.
- Copy the internal connection URL into the application environment.
- Redeploy the application.
Avoid publishing a database port directly to the internet. Application containers on the same internal network can connect without exposing PostgreSQL or Redis publicly.
Use separate credentials for each application. One compromised app should not automatically gain access to every database on the server.
Step 8: Configure Health Checks
A container being in a running state does not prove the application is healthy. Add an HTTP health endpoint:
GET /health
It should return a success response only when the application can handle normal traffic. A useful health check may confirm:
- The web process is responsive.
- Required configuration loaded.
- The database is reachable.
- Critical dependencies are available.
Keep the check lightweight. A health probe that performs expensive work every few seconds can create its own load problem.
Also configure:
- A restart policy.
- Deployment timeout appropriate for the application.
- Resource limits where one workload could affect the whole server.
- Notifications for failed deployments and unhealthy services.
Step 9: Back Up Coolify and Application Data
There are at least three separate things to protect:
- The Coolify configuration and internal database.
- Application databases.
- Persistent application files and Docker volumes.
This distinction matters. Coolify's backup and restore guide notes that a Coolify instance backup does not automatically include all application data.
Back up the Coolify instance
Configure Coolify's backup function with S3-compatible off-server storage. Retain the APP_KEY needed to decrypt and restore protected configuration, but store it separately from the backup.
Back up databases
Use database-native backups:
pg_dump --format=custom --file=app.dump app_database
For automated PostgreSQL backups in a containerized stack, run a scheduled backup process with credentials limited to the required database.
Back up persistent files
Identify every bind mount and named volume:
docker volume ls
docker inspect CONTAINER_NAME
Copy important data to a separate failure domain. A second directory on the same VPS is not a complete backup because one disk failure, account issue or destructive command can remove both copies.
Most importantly, test a restore. A backup job reporting success does not prove the data is complete or usable.
Step 10: Keep Coolify and the VPS Updated
Coolify supports update notifications and controlled upgrades from its interface. Before a significant update:
- Read the release notes.
- Back up Coolify configuration.
- Back up production databases and volumes.
- Check available disk space.
- Schedule a maintenance window.
- Confirm you have SSH and provider console access.
Keep Ubuntu updated as well:
apt update
apt full-upgrade -y
Check Docker disk use:
docker system df
Do not blindly run destructive cleanup commands on a production host. Confirm which images, volumes and build layers are unused before removing them.
Production Security Checklist
Before moving real users or sensitive data onto the platform, review this list:
- SSH uses keys rather than password authentication.
- Root or sudo access is limited to trusted administrators.
- Coolify uses a dedicated HTTPS domain.
- The initial registration page is no longer exposed.
- Only required public ports are reachable.
- Database ports are not publicly exposed.
- Application secrets are stored outside Git.
- Each application has separate database credentials.
- Health checks and restart policies are configured.
- Deployment notifications are enabled.
- Coolify, database and volume backups go off-server.
- Restore procedures have been tested.
- Ubuntu and Coolify have a defined update schedule.
- Disk, memory and CPU use are monitored.
- Old users, Git integrations and deployment keys are removed promptly.
Coolify is an administrative control plane. Compromise of its account, SSH keys or host can affect every application it manages, so protect it as carefully as the production services themselves.
How Much VPS Capacity Does Coolify Need?
The correct size depends more on builds and databases than on the number of domain names.
| Workload | Suggested starting resources |
|---|---|
| Coolify plus one light app | 2 vCPU, 2 GB RAM, 40 GB disk |
| Several small apps | 4 vCPU, 4 GB RAM, 60 GB disk |
| Apps plus PostgreSQL and Redis | 4 vCPU, 6 to 8 GB RAM, 80 GB disk |
| Larger builds or team platform | 6+ vCPU, 8+ GB RAM, 100+ GB disk |
These are starting points, not hard limits. A static website uses very little memory, while a large Java build can consume several gigabytes temporarily.
Watch:
- Free memory during builds.
- CPU saturation.
- Disk space and inode use.
- Docker build-cache growth.
- Database working set.
- Public network transfer.
If build jobs make production applications slow, separate the control/build workload from production services or move to a larger VPS.
Running Coolify on HYEHOST
HYEHOST Cloud VPS provides KVM virtualization, root access, SSD storage, public IPv4 and IPv6, 2Gbps networking and panel-based console access. That makes it suitable for a self-hosted Coolify deployment where you control the operating system and Docker environment.
A practical starting point is:
- WOV 100 for learning, testing or one small app.
- WOV 200 for several light applications.
- WOV 250 or WOV 300 when databases and production builds need more memory.
Start with Ubuntu 24.04 LTS, add your SSH key during deployment and complete the Coolify installation from the server console. HYEHOST snapshots and backup options can protect the VPS layer, but you should still configure application-aware database and volume backups.
When several Coolify servers need private database, monitoring or backup connectivity, HYEHOST private LANs provide unmetered internal networking without exposing those services on public interfaces.
Frequently Asked Questions
Is Coolify free?
The self-hosted edition is open source and does not require a platform subscription, but you still pay for the VPS, storage, backups, domains and any external services your applications use.
Is Coolify a replacement for Docker?
No. Coolify uses Docker to build and run workloads. It adds a control plane for deployments, domains, environment variables, databases and application operations.
Can Coolify host WordPress?
Yes. WordPress can run as a containerized service with a database and persistent storage. For users who do not want to maintain Docker, PHP, database backups and updates, managed WordPress or DirectAdmin hosting may be simpler.
Can I install Coolify on a server that already hosts websites?
It is possible, but not recommended for a first deployment. Existing web servers, Docker networks and occupied ports can conflict with Coolify's proxy and container configuration. A fresh VPS is safer and easier to recover.
Does Coolify automatically back up everything?
No. Coolify can back up its own configuration and can help schedule database backups, but persistent application data must be identified and protected separately.
Does Coolify provide automatic SSL?
Yes. When DNS points to the server and an application is assigned a complete https:// domain, Coolify configures the proxy and certificate handling automatically.
Is Coolify suitable for production?
It can be, provided you operate it like production infrastructure. Use proper access control, off-server backups, monitoring, resource planning, tested restores and controlled updates.
Final Thoughts
Coolify is useful because it combines the flexibility of a VPS with a deployment workflow that is easier than managing every Docker command, proxy rule and certificate manually.
The installation itself takes only a few minutes. The difference between a test setup and a dependable platform comes afterwards: secure the first administrator account, restrict exposed ports, keep databases private, monitor resources and back up every layer that contains irreplaceable data.
With those foundations in place, a single Coolify VPS can become a practical home for websites, APIs, workers, databases and internal tools while keeping the infrastructure under your control.